Why build in hollow wood
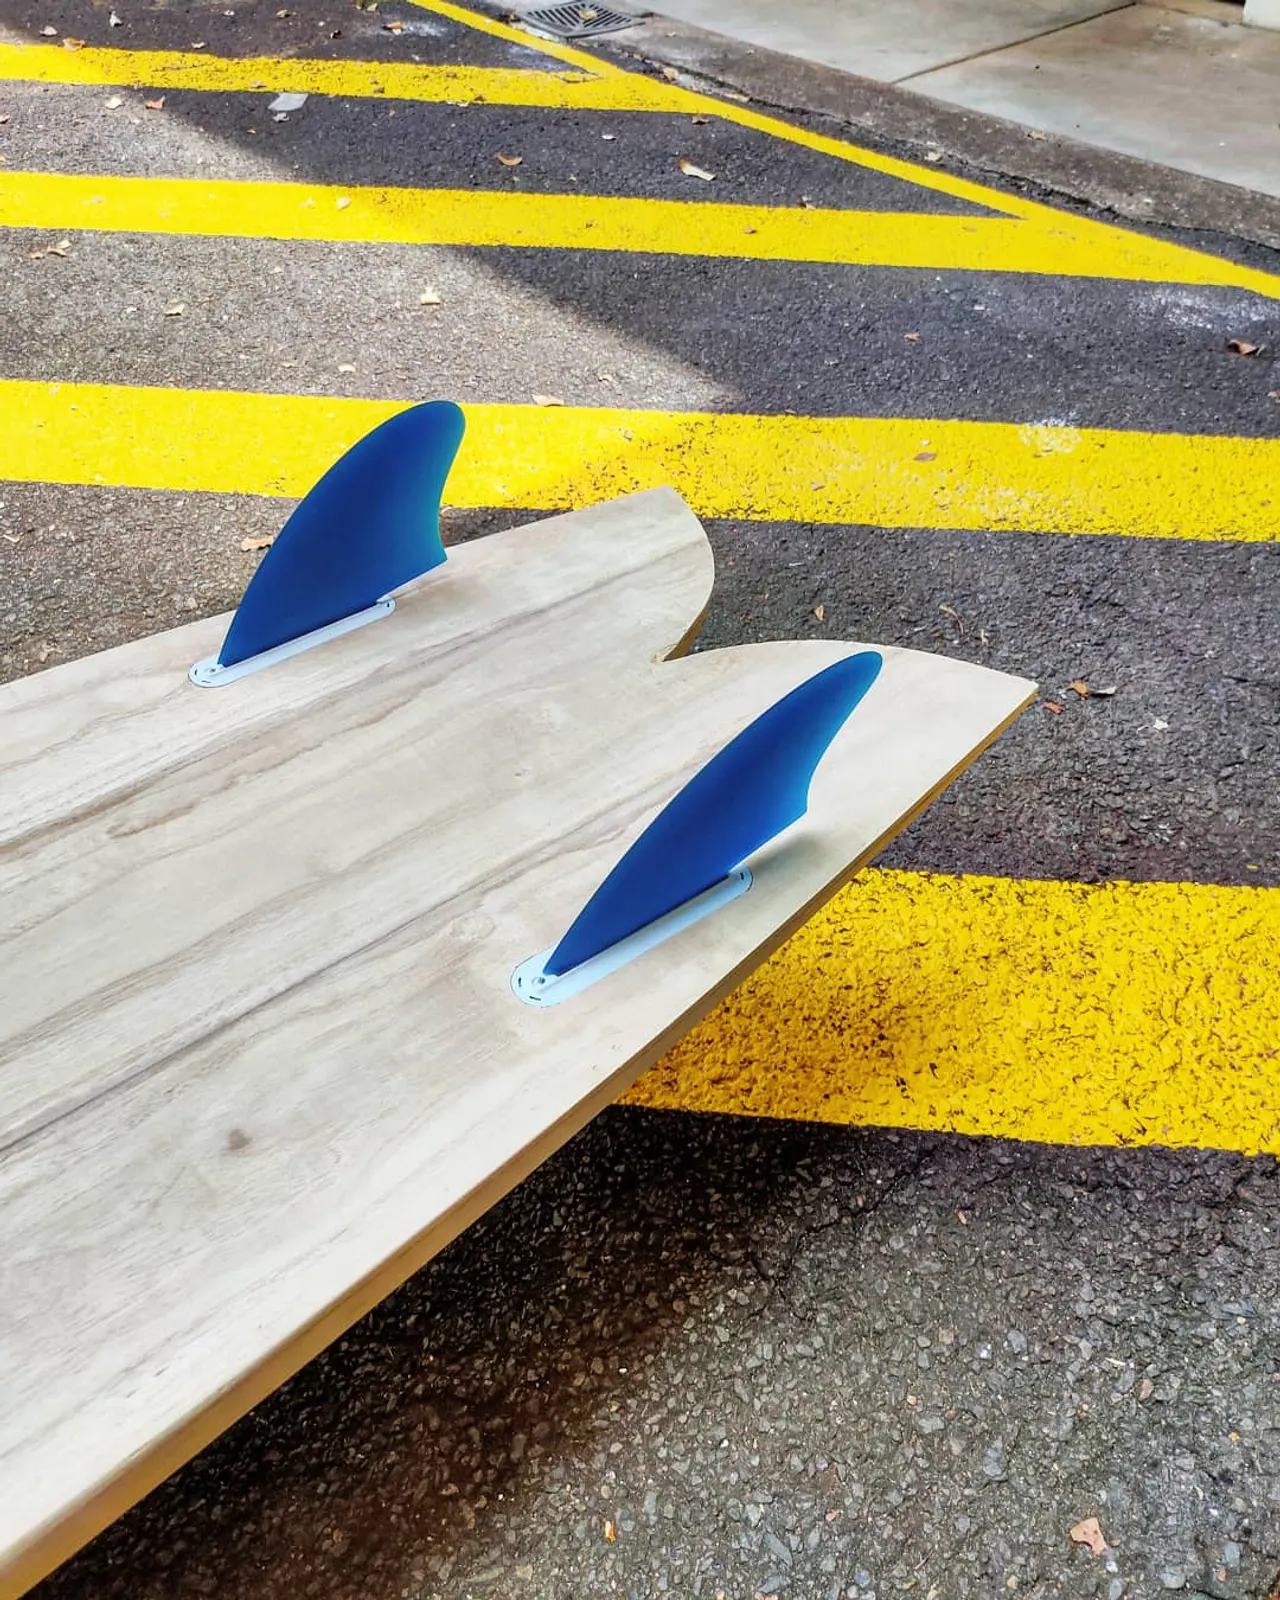
Of all the construction methods, hollow skin-on-frame is the one that rewards a home builder most: no foam dust, no blank to buy, timber you can source sustainably, and a board that shrugs off dings that would kill a foam board. The ride is distinctive too — a smooth, dampened flex and glide that foam doesn't quite match. My own daily board is a 5'8" Paulownia fish built exactly this way, and it's outlasted every foam board I've owned.
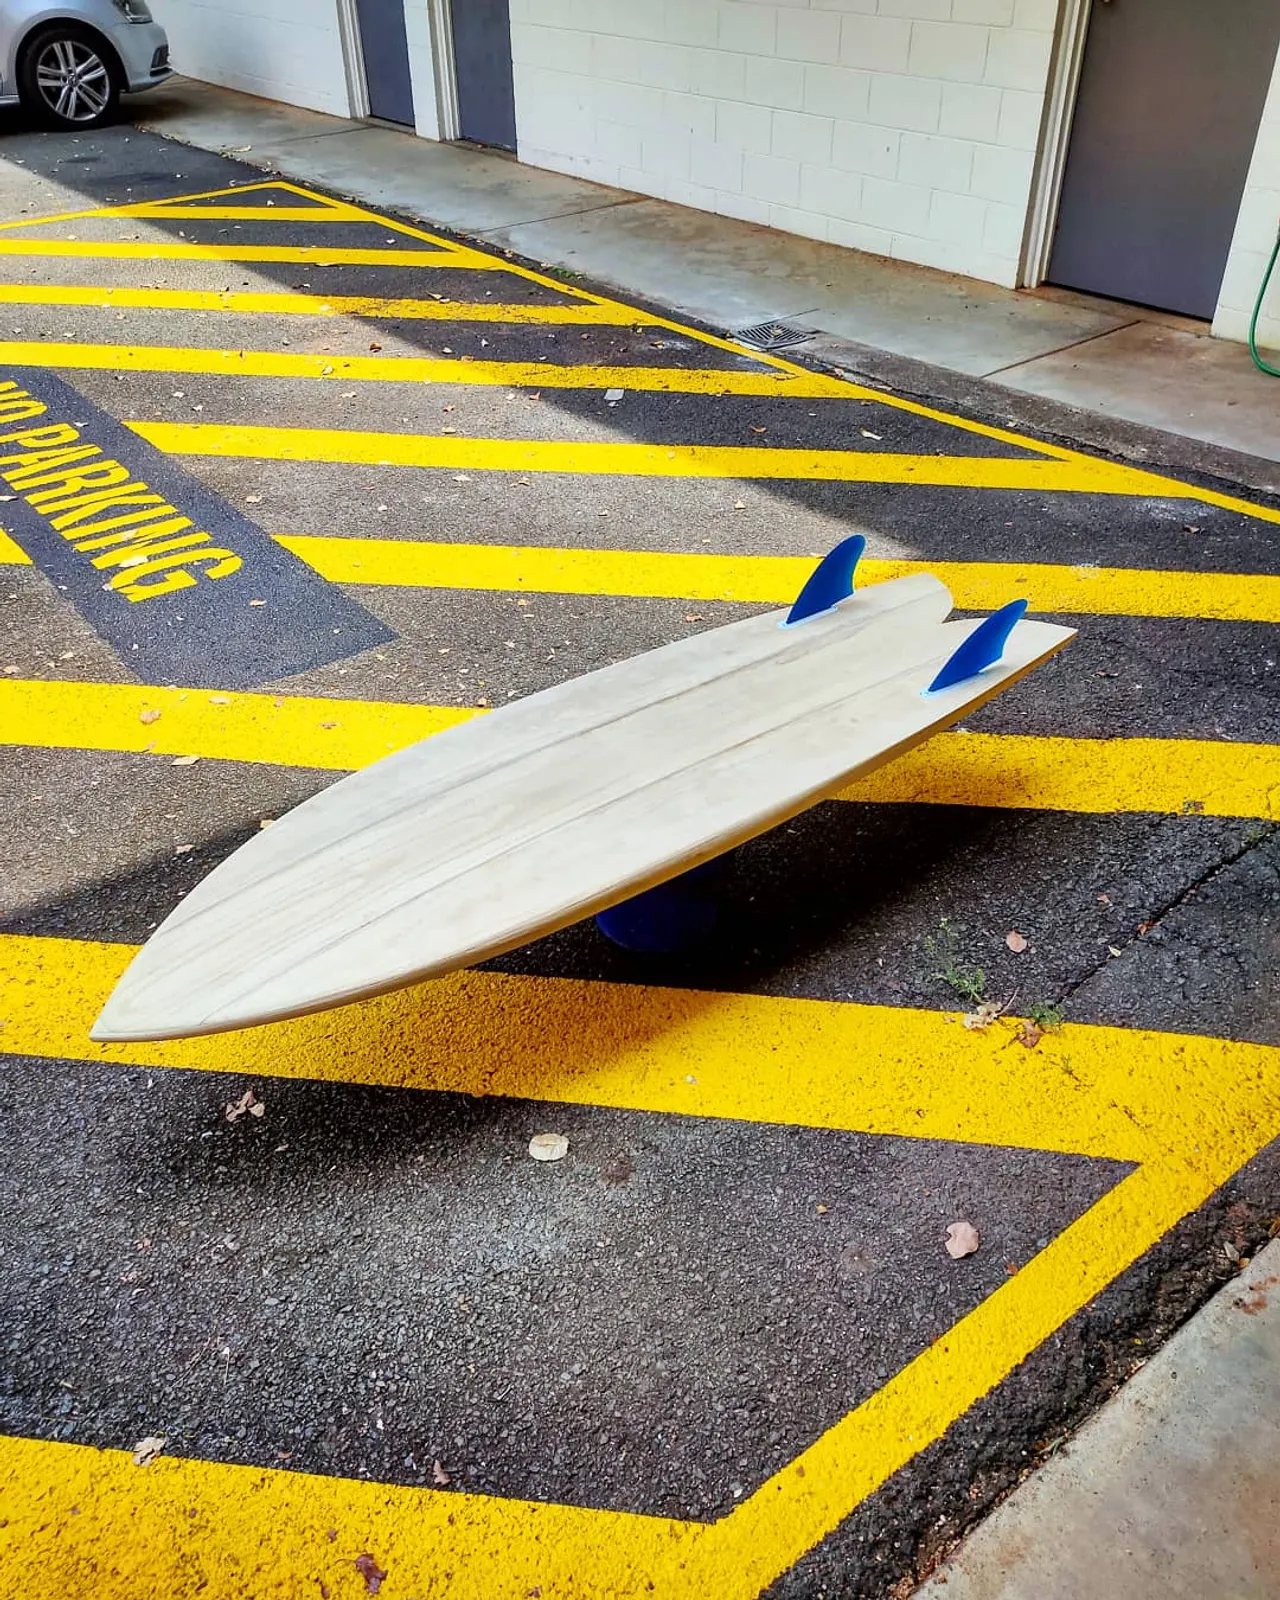
Be honest with yourself about the commitment: a first build typically takes 40–100 hours spread over weeks. It's woodworking first, board building second — and that's most of the fun.
How skin-on-frame works
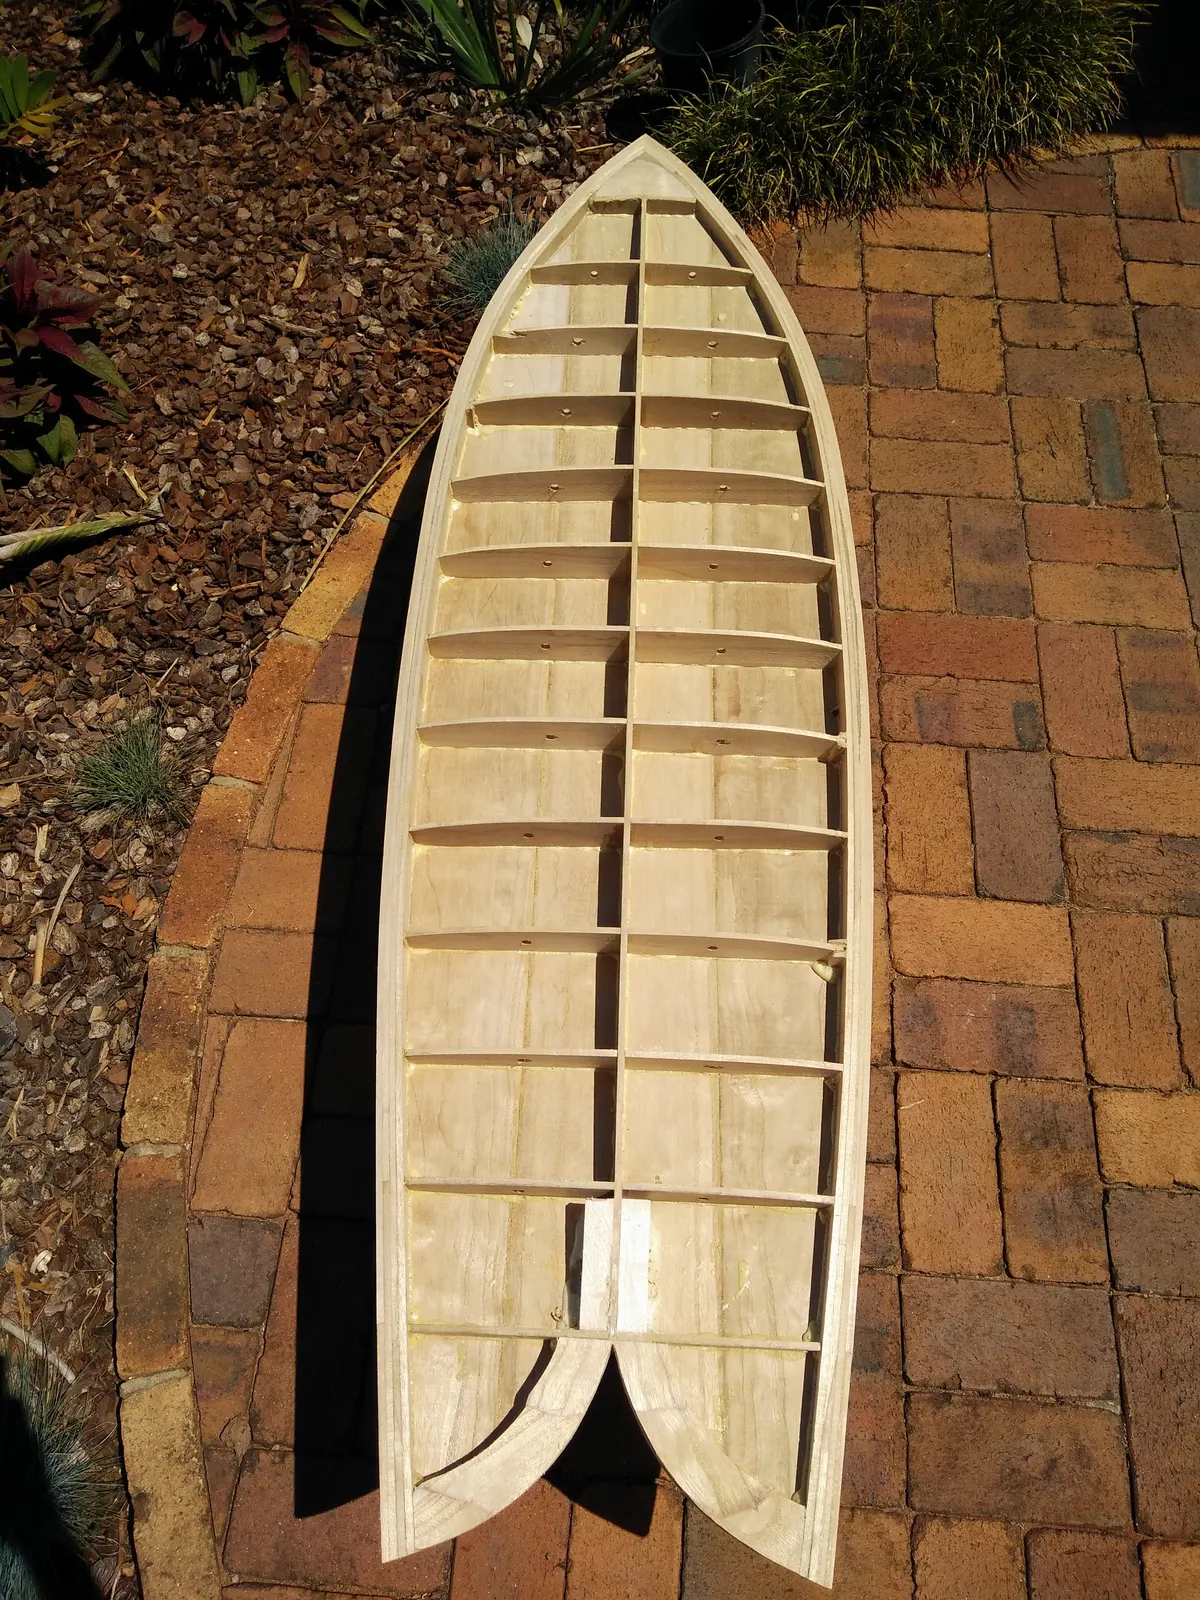
The construction borrows from wooden aircraft and boat building. An internal skeleton — a spine down the stringer line and ribs at regular stations — defines the rocker and the cross-sectional shape. Thin timber panels (typically ~6 mm) are glued over the top and bottom of the frame, rails are built up from strips or blocks around the perimeter and shaped by hand, and the whole thing is sealed. The frame carries the geometry; the skins carry the loads.
Materials & tools
- Paulownia for skins and rails — light, rot-resistant, bends easily, glues well and takes epoxy beautifully. Western red cedar is the classic (heavier, gorgeous) alternative; many builders mix the two for contrast.
- Plywood (~6 mm exterior or marine grade) for the spine and ribs — stable and cheap, and it stays hidden inside.
- Glue: a waterproof wood glue (Titebond III class) for timber joints, epoxy where wood meets hardware.
- Hardware: a deck vent (non-negotiable — see finishing), a leash plug, and fin boxes with solid timber blocking inside the hull.
- Tools: jigsaw or bandsaw, block plane, spokeshave, sanding blocks, clamps (many), and a simple building cradle to hold the rocker true. A CNC router is optional.
- Finish: epoxy resin, with a light fibreglass cloth (4 oz) if you want maximum durability.
Step 1 — Design the board and export templates
This is where CAD earns its keep. Design the board in the OpenShaper editor — outline, rocker, and a cross-section at each rib station (the design guide covers what each curve does; the volume readout matters in timber, because litres you don't need are weight you'll carry). Then export the geometry as build templates:
- DXF — outline and cross-section curves, ready for CNC or laser cutting. Offset each rib inward by the skin thickness so the finished surface lands on your designed shape.
- PDF — the same templates at 1:1 for the no-CNC route: print, tile, glue to plywood, cut by hand.
- STL — the full 3D surface, useful if a local shop is machining parts for you.
Step 2 — Cut and assemble the frame
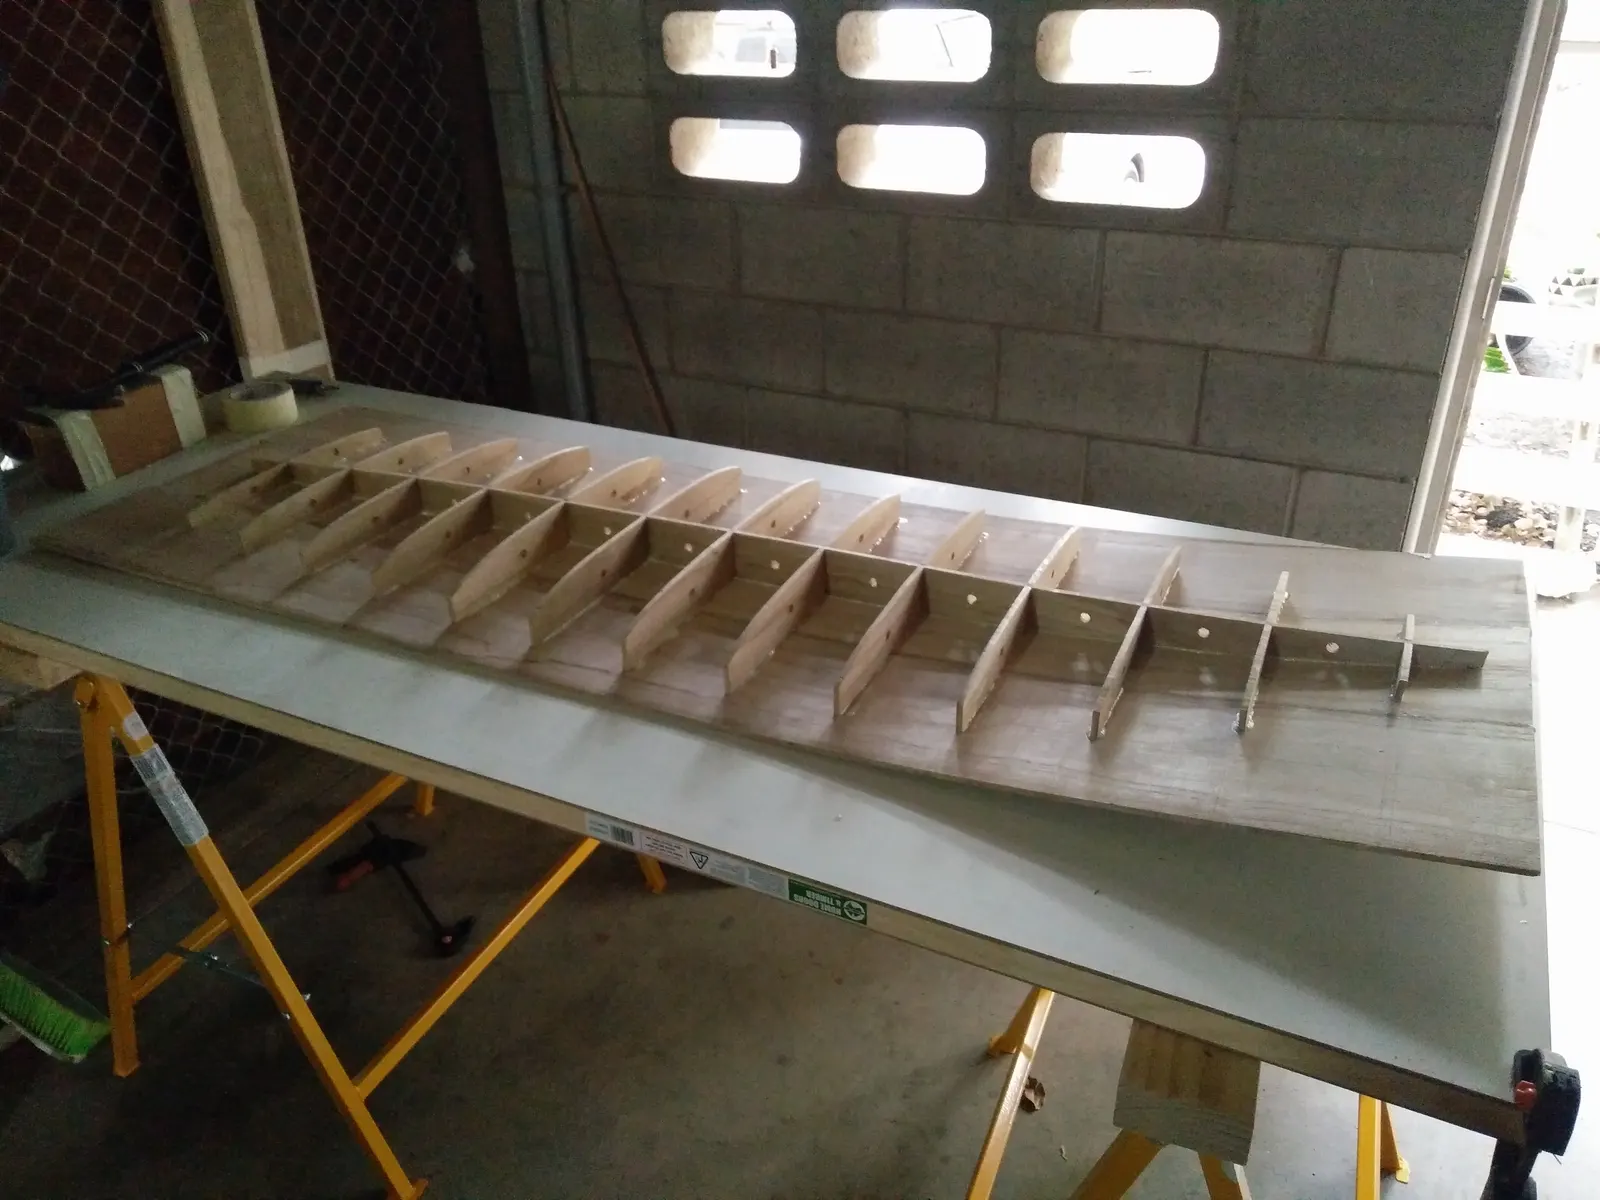
Cut the spine (which carries the rocker profile) and the ribs, then slot them together egg-crate style — half-depth slots in the spine, matching slots in the ribs — and check the skeleton against your rocker template in the cradle before gluing anything. Drill lightening holes in the ribs; they shed weight and, importantly, let air move between chambers so the vent can do its job. Glue up square and true: every error in the frame telegraphs through the skins.
Step 3 — Skins and rails
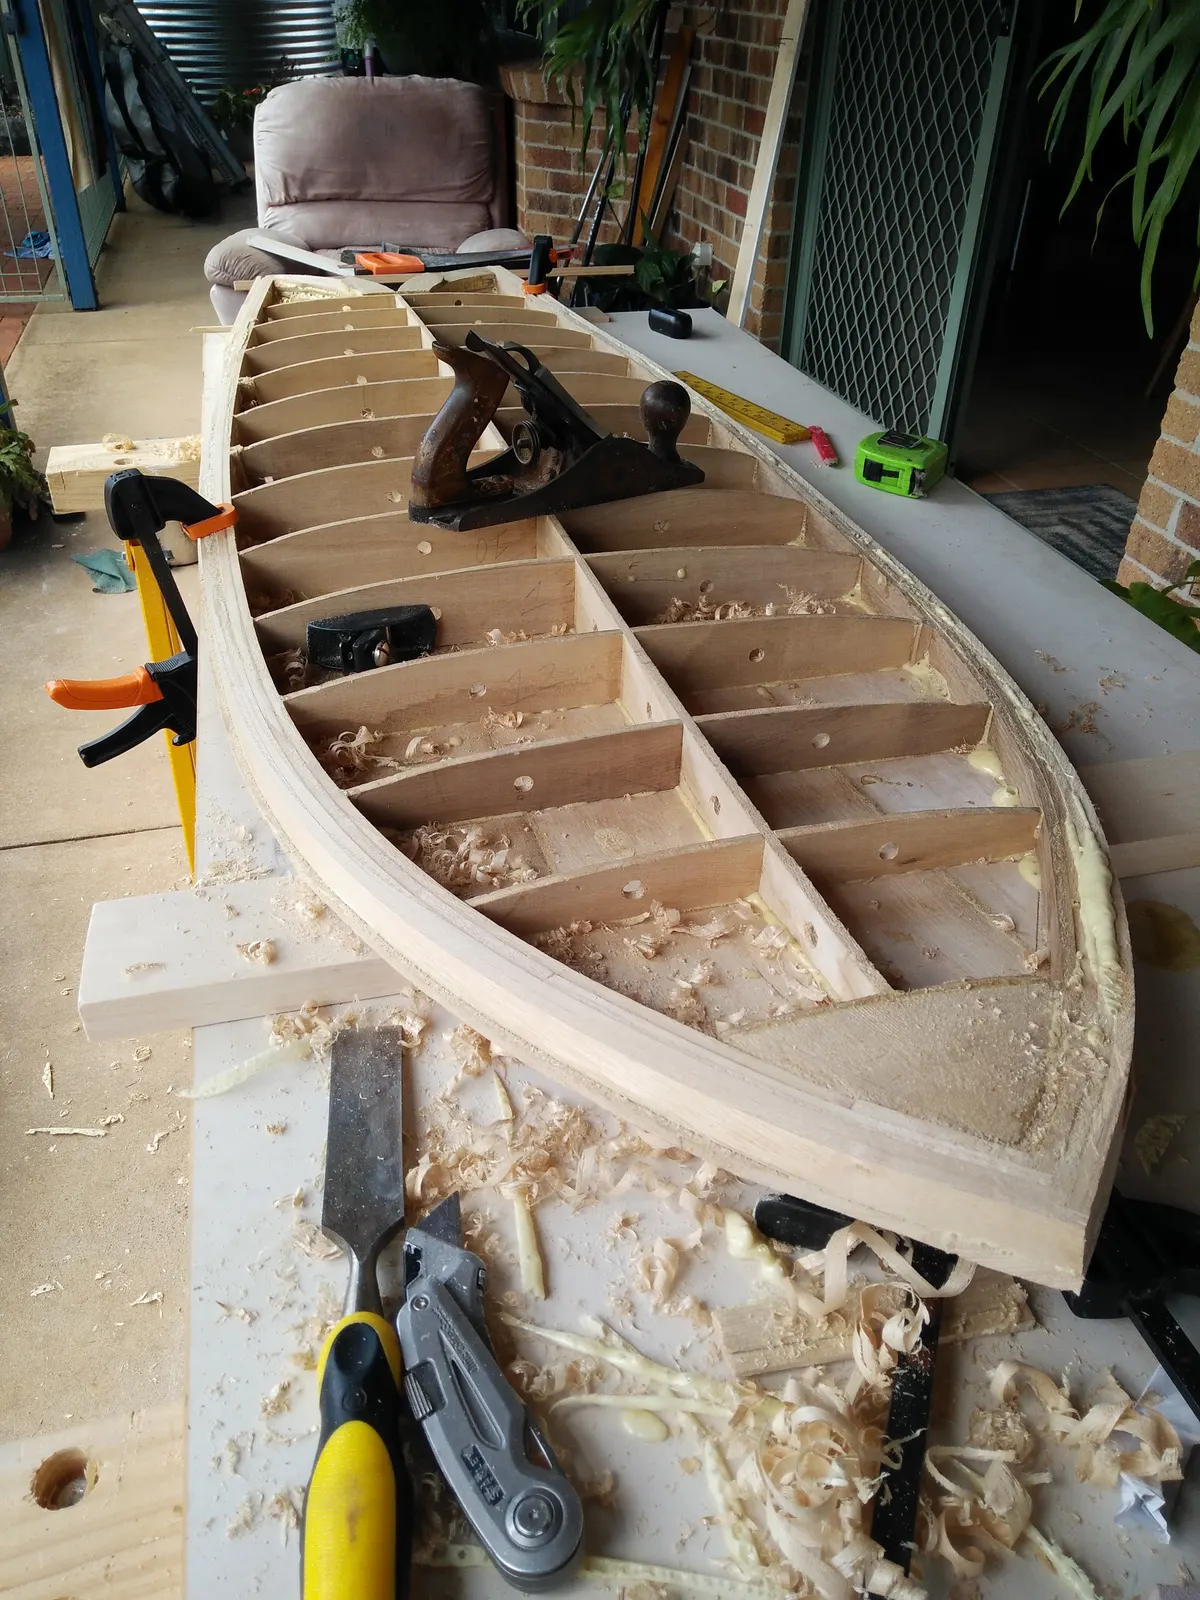
Edge-glue Paulownia strips into two panels, then glue the bottom skin to the frame first — clamped or vacuum-bagged over the cradle so it takes the rocker. Build the rails around the perimeter from bendable strips or stacked blocks, glued in courses and left proud. Fit internal blocking for fins, vent and leash plug before the deck goes on — once the deck skin is glued down, the inside is sealed forever. Then the most satisfying part: plane and sand the rails to the profile from your printed cross-section templates.
Step 4 — Vent, seal and finish
A hollow board is an airtight chamber, and air expands with heat — every hollow wooden board needs a vent in the deck (a small screw plug you open for storage, or a breathable membrane vent that stays put). Skipping it risks a split seam the first time the board sits in a hot car. Seal the timber with epoxy — on its own for a light build, or under 4 oz glass for the most durable finish — and install the fin boxes and leash plug bedded in epoxy. Sand, polish, go surfing.
Frequently asked questions
Do I need a CNC machine to build a hollow wooden surfboard?
Does a hollow wooden surfboard need a vent?
How heavy is a hollow wooden board compared to foam?
Sources & further reading